Alternative Milks: Steaming Oat & Almond Milk on Breville
How to steam oat milk and almond milk on Breville espresso machines. Best barista brands, technique adjustments, and troubleshooting tips.

Plant-based milks have completely taken over my kitchen, but I’ll be honest: my first few attempts at steaming oat milk on my Breville resulted in what I can only describe as “hot screeching sludge.” Unlike dairy, which is pretty forgiving, oat and almond milks have entirely different protein structures that react weirdly under steam pressure.
If you’re struggling to get that glossy microfoam and are just getting big soapy bubbles, you’re not alone. I wasted about four cartons of expensive barista oat milk before I finally cracked the code.
This guide isn’t just theory—it’s the practical, battle-tested method I use every morning to get latte art-quality foam from plant milks on my Breville.
Why Plant-Based Milks Steam Differently
Understanding the chemistry actually helped me stop messing up. Here’s why your oat milk behaves differently than 2% cow’s milk.
Protein Content
Proteins are what trap the air bubbles to create foam. Dairy is loaded with them; plant milks, not so much.
| Milk Type | Protein Content | Foam Stability |
|---|---|---|
| Dairy (whole) | 3.4g/100ml | Excellent |
| Oat (barista) | 1.0g/100ml | Good |
| Almond (barista) | 0.5g/100ml | Fair |
| Soy (barista) | 3.3g/100ml | Excellent |
Because there’s less protein, the window for creating stable foam is much smaller. You can’t just blast it with air forever.
Fat Content
- Higher fat means a creamier texture and that heavy, silky mouthfeel.
- Lower fat might foam easily but collapses into a watery mess instantly.
- Barista editions usually add rapeseed or sunflower oil to mimic dairy fat—it sounds weird, but it’s essential for texture.
Sugar Content
- Oat milk is naturally way sweeter because the heating process breaks down oat starches into simple sugars.
- Almond milk tends to be nuttier and less sweet.
- Critical Warning: These sugars caramelize much faster than dairy lactose. If you overheat oat milk, it doesn’t just taste cooked—it tastes like burnt oatmeal.
Best Brands for Steaming
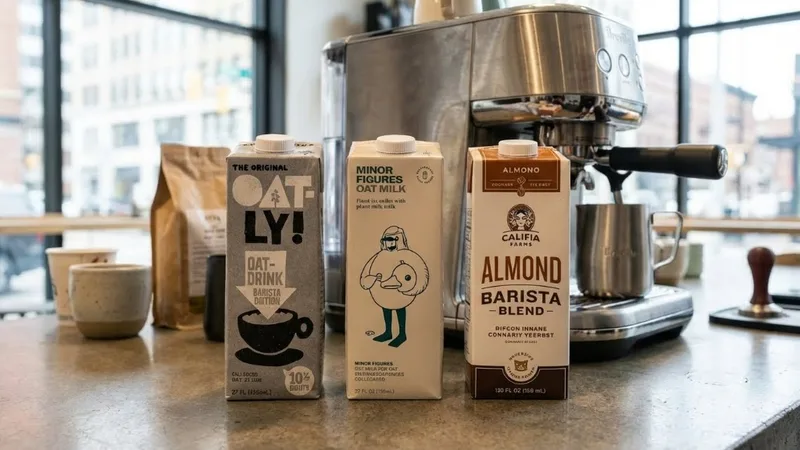
I cannot stress this enough: do not buy the standard grocery store versions for your espresso machine. I tried steaming a standard “organic almond milk” once, and it literally split into hot water and white clumps in my cup. It was gross. You need “Barista Edition” blends.
Oat Milk Recommendations
| Brand | Foam Quality | Flavor | My Experience |
|---|---|---|---|
| Oatly Barista | ★★★★★ | Creamy, smooth | My go-to. It’s almost indistinguishable from whole milk in texture. |
| Minor Figures | ★★★★☆ | Clean, subtle | Really nice if you don’t want an “oaty” flavor interfering with your specialized beans. |
| Califia Barista | ★★★★☆ | Slightly sweet | easy to find, foams reliably. |
| Planet Oat Extra Creamy | ★★★☆☆ | Sweet | Good in a pinch, but the foam falls flat faster. |
Almond Milk Recommendations
| Brand | Foam Quality | Flavor | My Experience |
|---|---|---|---|
| Califia Barista Almondmilk | ★★★★☆ | Nutty, pleasant | The only almond milk I’ve found that doesn’t instantly separate. |
| Almond Breeze Barista | ★★★☆☆ | Mild | Widely available, but the foam is a bit stiff and soapy. |
| Oatly Oat + Almond | ★★★★☆ | Balanced | A great cheat code if you want almond flavor but oat texture. |
Key Shopping Tips
- Always, always look for “Barista Edition” or “Barista Blend” on the carton.
- Check the ingredients for added oils (this is a good thing for steaming).
- Refrigerated vs. Shelf-Stable: I’ve consistently found that versions sold in the fridge case steam better than the shelf-stable boxes, even from the same brand.
- Shake it like you mean it. Separation happens fast in the carton.
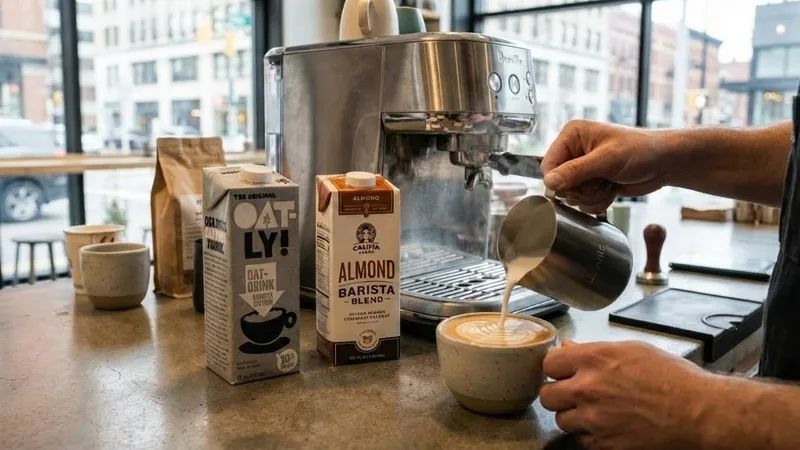
Steaming Oat Milk: Technique Adjustments
Oat milk is my daily driver because it’s the most forgiving. If you’re coming from dairy, it’s an easy transition.
Key Differences from Dairy
| Factor | Dairy | Oat Milk |
|---|---|---|
| Temperature target | 60-65°C | 55-60°C |
| Stretching time | 3-5 seconds | 2-4 seconds |
| Foam stability | 60+ seconds | 30-45 seconds |
| Sweetness | Neutral | Naturally sweet |
Step-by-Step Process
1. Preparation

- Use cold oat milk straight from the fridge.
- Fill the pitcher about 1/3 full. Note: Oat milk expands a bit more aggressively than dairy, so don’t overfill or you’ll overflow.
- Shake the carton. I give it a solid 10-second shake.
2. Positioning
- Place the steam tip just barely under the surface (about 0.5cm).
- Position it off-center to encourage that whirlpool motion.
- Tilt the pitcher slightly towards you.
3. Stretching (The “Paper Tear”)
- Turn on full steam.
- Lower the pitcher slightly to hear that “ripping paper” sound.
- Stop sooner than you think. For oat milk, I only stretch for maybe 2-4 seconds max. It takes in air very quickly. If you stretch too long, you get dish soap bubbles.
4. Texturing
- Lift the pitcher to bury the steam wand tip about an inch deep.
- Focus purely on the vortex (the whirlpool). This spins the big bubbles into microfoam.
- Watch your temperature closely.
5. Temperature

- Cut the steam at 55-60°C.
- This is lower than you’re used to with dairy.
- If you go past 65°C, oat milk loses its structure and the flavor turns weirdly cardboard-like. Use your hand on the pitcher; when it’s just becoming too hot to touch comfortably, stop immediately.
6. Finishing
- Give the pitcher a firm tap on the counter to pop any big bubbles.
- Swirl immediately. Oat milk separates much faster than dairy. Keep that milk spinning until the second you pour.
- Pour within 20 seconds. If you let it sit while you grab a spoon, you’ll be pouring hot water with a foam cap.
Common Oat Milk Issues
| Problem | Cause | Solution |
|---|---|---|
| Foam disappears quickly | Too much air (stretching too long) | Cut your stretching time in half. |
| Burnt/cardboard taste | Overheated | Stop steaming 5 degrees sooner. |
| Large soap bubbles | Not enough vortex integration | Bury the wand sooner and get a faster spin going. |
| Separates in cup | Sat too long | Pour the second you finish swirling. |
Steaming Almond Milk: Extra Care Required
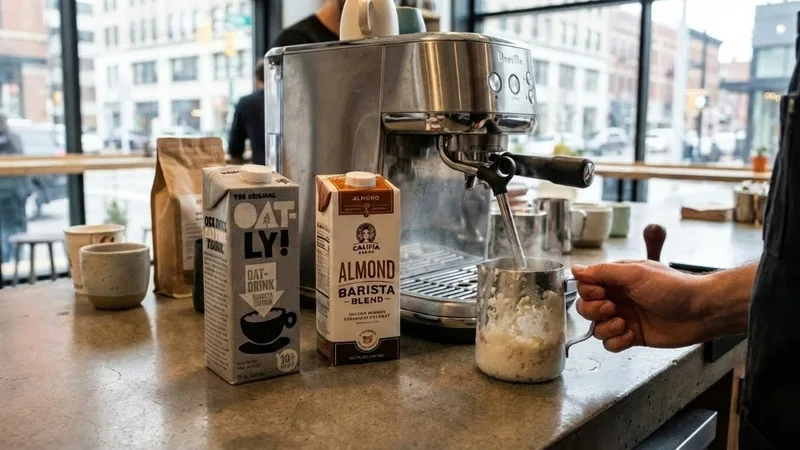
I have a love-hate relationship with almond milk. It can taste great, but it is notoriously difficult to steam. It has almost no protein scaffolding to hold the foam.
Key Differences from Dairy
| Factor | Dairy | Almond Milk |
|---|---|---|
| Temperature target | 60-65°C | 50-55°C |
| Stretching time | 3-5 seconds | 1-2 seconds |
| Foam stability | 60+ seconds | 15-30 seconds |
| Difficulty | Easy | Very High |
Step-by-Step Process
1. Preparation
- You must use a refrigerated barista blend. Standard almond milk is useless here.
- Shake it until your arm hurts. Separation is extreme with almond milk.
- Use less milk than usual—it heats up incredibly fast.
2. Positioning
- Same off-center, angled position as usual.
- Be ready to move fast. The whole process takes maybe 15 seconds.
3. Stretching (Blink and You’ll Miss It)
- Add air for literally 1-2 seconds.
- I usually just let it “chirp” twice and then bury the wand.
- If you hear the paper tearing sound for more than 2 seconds, you’ve already ruined the texture.
4. Texturing
- Focus entirely on the spin. You’re trying to polish those bubbles before the milk gets too hot.
- It will feel thinner than dairy or oat milk. That’s normal.
5. Temperature
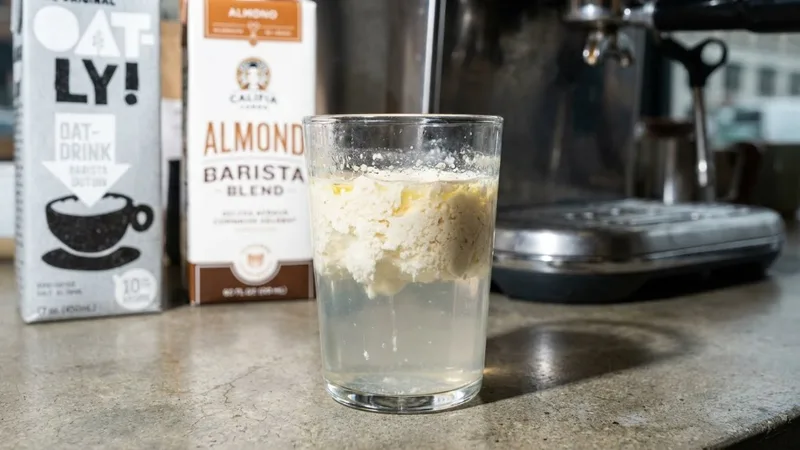
- Stop at 50-55°C. Yes, this is barely hot.
- Almond milk curdles and separates if it gets even slightly too hot. It splits into a watery layer and a clumps layer. It’s gross.
- Better to have a warm latte than a hot, curdled mess.
6. Finishing
- Gentle tap.
- Aggressive swirl.
- Pour instantly. You have about a 15-second window before the foam dies.
Common Almond Milk Issues
| Problem | Cause | Solution |
|---|---|---|
| No foam at all | Wrong brand / not barista style | Switch to Califia Barista or similar. |
| Instantly separates/curdles | Overheated | Stick to 50-55°C max. |
| Watery texture | Too much air, blown out | Stretch less, incorporate more. |
| Grainy texture | Burnt proteins | You cooked it too long. Lower temp. |
Bonus: Soy Milk Tips

Soy milk is the “old reliable” of plant milks. It steams almost exactly like dairy because its protein content is comparable.
- Temp: 60-65°C (handle it like whole milk).
- Stretch: 3-5 seconds.
- Stability: Excellent.
- The Catch: It can curdle after pouring if your coffee is very acidic (like a light roast). Pour gently and maybe let your espresso cool for 10 seconds first.
General Tips for All Plant Milks
Before Steaming
- Shake the carton. Seriously. The sediment settles at the bottom, and that’s where the foaming agents are.
- Buy Barista Editions. I know they cost $1 more, but the regular stuff is water.
- Start Cold. Warm milk gives you zero time to texturize.
- Underfill. Plant milks often expand rapidly and unpredictably.
During Steaming
- Less Air is More. Plant proteins are weaker structures. Don’t overload them.
- Lower Temps. Err on the side of cooler. Plant sugars burn at lower temps than lactose.
- Speed. Treat it like a sprint, not a marathon.
- The Vortex is Key. Since the foam is fragile, you need that spin to knit it together.
After Steaming
- Pour Fast. The “dwell time” (time between steaming and pouring) should be zero.
- Keep Swirling. If you set the pitcher down to check your phone, the foam separates.
- Don’t Let It Sit. Drink it! Plant milk lattes don’t hold up for 20 minutes like dairy ones.
- Purge & Wipe. Plant milks dry into a concrete-like glue on your steam wand. Wipe it immediately.
Cleaning After Plant Milks
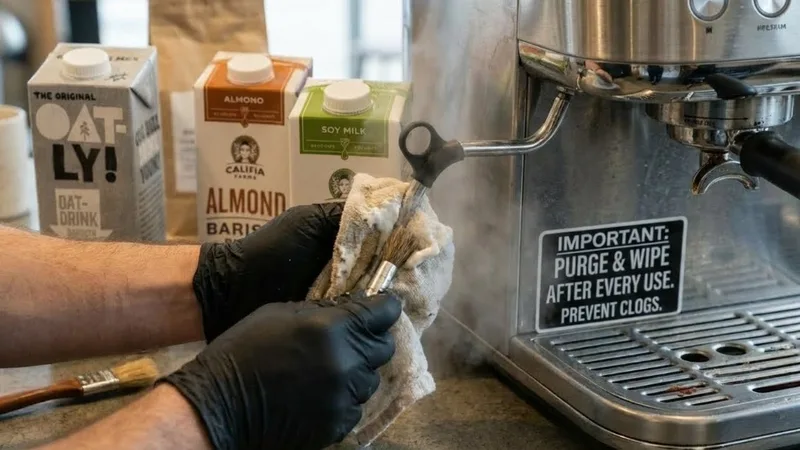
One thing I learned the hard way: oat milk residue is like glue. If you let it bake onto your steam wand, you’ll need a chisel to get it off.
- Purge immediately. Blow that steam out right away.
- Wipe with a really damp cloth.
- Purge again.
- Weekly Deep Clean. I find plant milks clog the tip holes faster than dairy. Soak your steam tip in hot water once a week.
FAQs
Why won’t my oat milk foam?
It’s usually one of two things: either you didn’t shake the carton enough (so you’re just steaming oat water), or you’re using a generic brand that lacks the fat content needed for foam. Use a Barista edition and keep the temp under 60°C.
Can I use regular almond milk from the grocery store?
Technically yes, but you won’t like the result. It will essentially be hot almond water with big, dry bubbles on top. It lacks the stabilizers and added proteins that make microfoam possible.
Why does my plant milk separate in the cup?
This is usually heat-related. If the milk is too hot, or if the acidity of the coffee reacts with the hot milk, it splits. Try steaming to a slightly lower temperature (warm, not hot) and see if that fixes it. Also, pour immediately!
What’s the best plant milk for beginners?
Oat milk (Barista Edition). Hands down. It behaves 80% like dairy milk. Almond is playing on Hard Mode; Soy is easy to steam but sometimes curdles in the cup. Start with Oatly Barista or similar.
Do I need a different steam technique for each milk?
Yes, but the core principle is: Less Air, Lower Heat. Dairy can take a beating; plant milks need a gentle touch. Oat is moderate, Almond is extremely sensitive.
Key Takeaways
- Buy the right milk: “Barista Edition” isn’t a marketing scam; it’s necessary chemistry.
- Lower your temps: Stop at 55-60°C for Oat, and even lower (50-55°C) for Almond.
- Stretch less: Introduce air for only 2-3 seconds max.
- Pour fast: The foam degrades rapidly, so don’t wait.
- Oat is King: For texture and ease of use, oat milk is the clear winner for home baristas.
- Clean like a pro: Plant residue is sticky. Wipe that wand instantly.
With a little practice (and maybe a few wasted cartons), you’ll get used to the quicker workflow. I actually prefer my oat milk lattes now—the nutty flavor pairs perfectly with chocolatey espresso blends. Just remember: keep it cool, keep it spinning.
Related Guides:
Mikael
Home espresso enthusiast and Breville specialist. Helping you master the art of coffee brewing from your own kitchen.
Learn more about me →