Milk Stretching: Listening for the Paper Tearing Sound
Master milk stretching by listening for the paper tearing sound during frothing. Learn audio cues for perfect microfoam in lattes.
You can steam milk with your eyes closed. In fact, you should try it. The difference between “café quality” and “hot bubbly mess” isn’t a look—it’s a sound.
When I was learning, I stared at the milk so hard I gave myself a headache. My mentor finally walked over, covered my eyes, and said, “Listen for the tearing paper.”
That sound—tshh-tshh-tshh—is the sound of air gently folding into liquid. If it sounds like a screaming banshee, you’re doing it wrong. If it’s silent, you’re just boiling milk.
Understanding Milk Stretching
The Two Phases of Steaming
Steaming isn’t one continuous act. It’s two distinct moves:
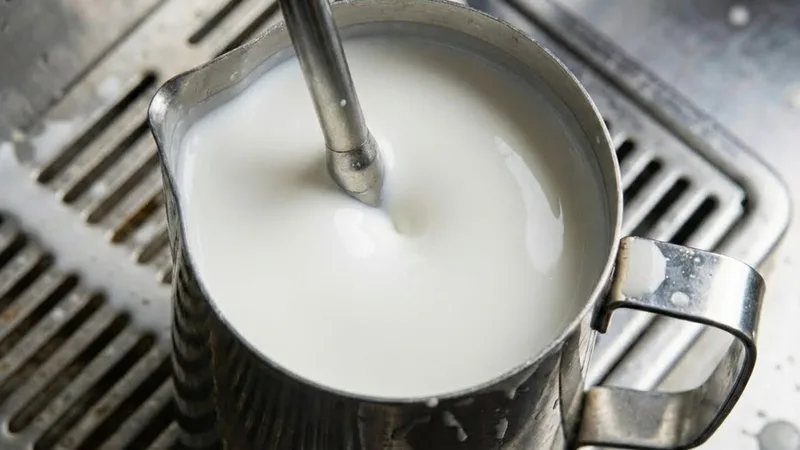
Phase 1: Stretching (The Air)
- You add air to create volume.
- Sound: Gentle ripping paper.
- Duration: Short. 3-5 seconds max.
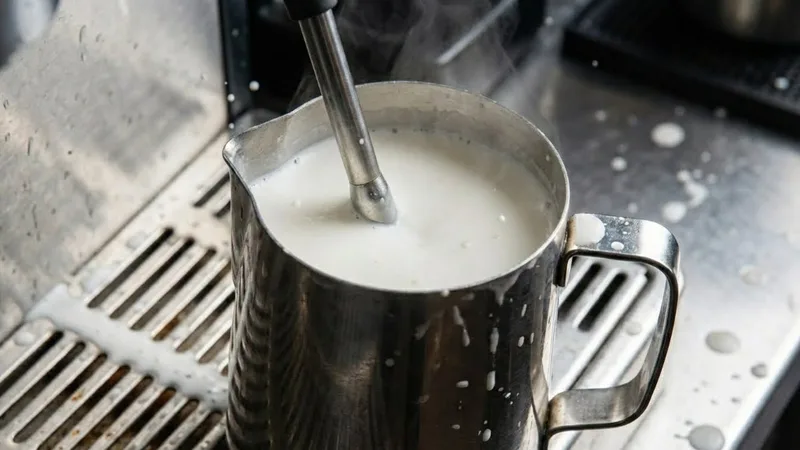
Phase 2: Texturing (The Spin)
- You spin the milk to chop those big bubbles into microscopic ones.
- Sound: Silent whirlpool.
- Duration: The rest of the time.
Why Sound Cues Matter
My first month on manual machine, I ruined so many jugs because I was looking for visual bubbles. By the time you see them, it’s too late—you’ve made soap foam.
Sound is instant. You hear the change before you see it.
The Paper Tearing Sound Explained
What It Sounds Like
It literally sounds like you are tearing a piece of construction paper in short bursts. Rip. Rip. Rip.
It should NOT sound like:
- A jet engine taking off (tip too shallow)
- A bubbling cauldron (tip way too shallow)
- A silent microwave hum (tip too deep)
What Causes the Sound
It’s the steam wand tip kissing the surface of the milk. It pushes a tiny pocket of air down into the liquid.
Audio Comparison
| Sound | What It Means | Solution |
|---|---|---|
| Silence | You’re heating, not foaming | Lower pitcher slightly |
| Screaming | Too much air, uncontrolled | Raise pitcher ASAP |
| Paper Tearing | Perfect microfoam entry | Hold steady |
| Gurgling/Splashing | Disaster. Big bubbles. | Stabilize your hand |
Step-by-Step Guide to Milk Stretching
Starting Position
- Cold Pitcher: Always start cold.
- Purge: Blow the water out of the wand.
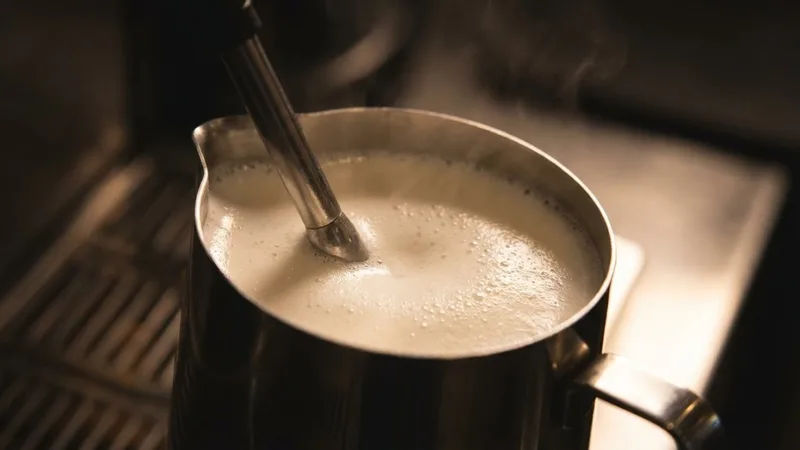
- Position: Wand tip about 1cm deep. Off-center.
The Stretching Phase (3-5 Seconds)
- Blast steam to full power instantly.
- Drop the pitcher very slowly until you hear the tshh-tshh.
- Hold it there.
- Count: One Mississippi, Two Mississippi, Three Mississippi.
- STOP stretching.
Visual Check: The milk level rose about 1cm. That’s enough for a latte. Don’t get greedy.
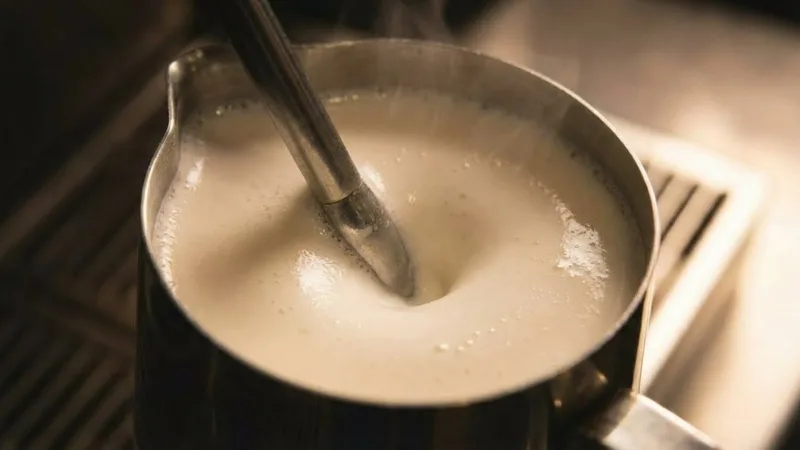
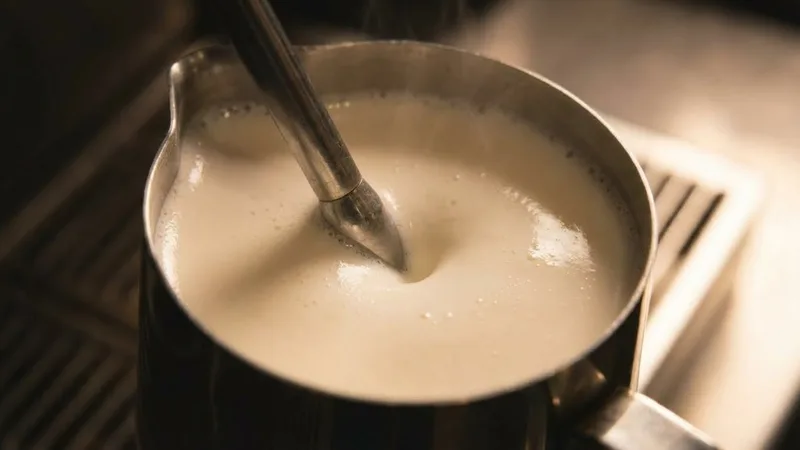
The Texturing Phase
- Lift the pitcher slightly to bury the tip.
- The tearing sound vanishes.
- Now, tilt the pitcher to find the vortex. The milk should spin like a tornado.
- This silent spin is crushing the bubbles you just made.
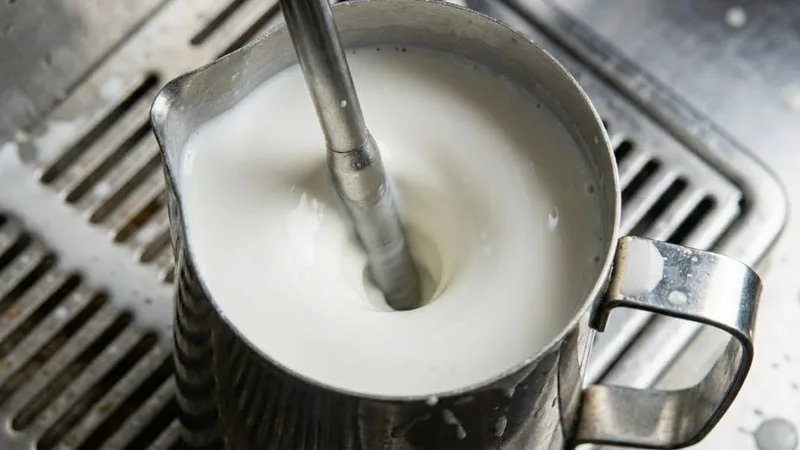
- Keep spinning until the pitcher is too hot to hold.
Finishing
- Shut off steam.
- PULL WAND OUT AFTER STEAM STOPS. If you pull it out while it’s still blowing, you blast big bubbles onto your perfect surface.
- Wipe. Purge.
- Swirl and tap the pitcher like a crazy person.
Tips for Different Milk Types
Whole Dairy Milk
The gold standard. Fats and proteins are perfectly balanced. Stretch: 4 seconds. Tip: Very forgiving of small mistakes.
Oat Milk (Barista Editions)
My go-to alternative. It foams faster than dairy. Stretch: 3 seconds. Warning: It screams louder if you mess up.
Almond Milk
The difficult child. It separates easily. Stretch: 2-3 seconds VERY gently. Tip: Don’t overheat it, or it curdles.
Skim Milk
Produces stiff, dry foam (like meringue). Hard to pour art with. Stretch: 3 seconds.
Common Mistakes
Too Much Air (The “Cappuccino From 1990”)
Problem: You kept “tearing” for 10 seconds because you thought “more foam = better.” Result: Stiff, dry peaks. impossible to pour art. Fix: Stop stretching sooner. Seriously. Count to 3.

Not Enough Air (The Hot Milk)
Problem: You were scared of the splashing, so you buried the wand deep. Result: Hot, flat milk. Zero texture. Fix: Be brave. Lower the pitcher until you hear the noise.
Large Bubbles
Problem: You added air at the END of the process. Result: Big bubbles floating on top. Fix: Only stretch at the beginning when milk is cold. Never add air to hot milk.
Frequently Asked Questions
How long do I stretch for a flat white?
Barely at all. Maybe 2 seconds of tearing. You want very thin microfoam.
What if I miss the sound?
If you don’t hear tearing, you aren’t making foam. You’re just making a hot beverage.
Why does my milk scream?
The “screech of death” means the tip is effectively vibrating against the surface but not penetrating. It usually happens when milk gets hot. Bury the tip deeper to stop it.
Can I fix over-stretched milk?
Sort of. Let it sit for 30 seconds, then groom (tap/swirl) aggressively. Pour off the top thick layer into the sink before pouring your drink.
Related Guides:
Mikael
Home espresso enthusiast and Breville specialist. Helping you master the art of coffee brewing from your own kitchen.
Learn more about me →